Sweetie, December 5, 2023
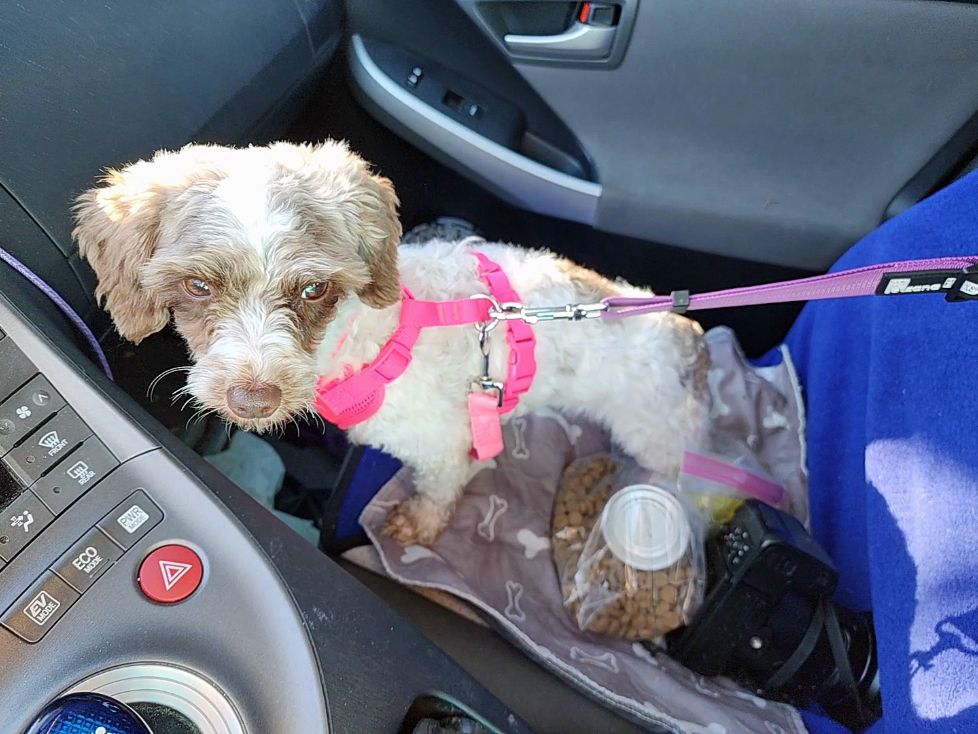
When I first adopted Sweetie, she came with a marvelous harness that was comfortable and opened at both the neck and the torso. Over time, she widened around her torso. (She’s not fat, but she’s not scrawny either.) She needed a new harness. We went through a series of harnesses that didn’t work: They didn’t open at either the neck or the torso (requiring both her head and her legs to be poked through holes to get into the harness), they were too bulky and heavy, or they were uncomfortable or unworkable in other ways. Despite many purchases (and returns), I could not find a harness that was comfortable, which didn’t require her to poke her head through a neck hole. Every time we went out, I had to chase her down to put on her harness. She’d eventually cooperate, but very reluctantly.
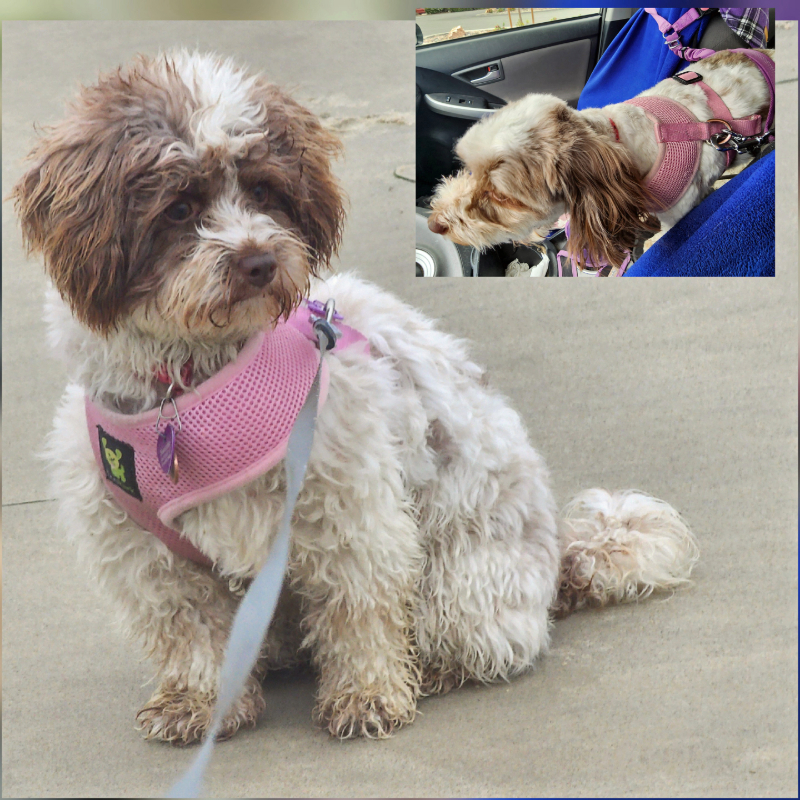
Sweetie, a few pounds heavier, in her current harness
Then my ingenious neighbor suggested that I find a way to make an opening in the neck. DUH! If your dog is similarly reluctant about having a harness pulled over its head, add an opening!
These instructions describe what to do if you have a sewing machine. Though many things can be hand-sewn easily, quickly, and well, this project isn’t one of them. It requires the oomph that a sewing machine can provide. If you don’t have a sewing machine, look for some lovely person who will make sewing repairs for you at a reasonable price. Check your local area, check phone apps with local folks (e.g., “Next Door,” “Yelp”), check bulletin boards, ask friends and neighbors. Somebody is out there who can do this for you at a reasonable price. (Or do what my daughter and granddaughters do: Ask a parent or grandparent to do it.)
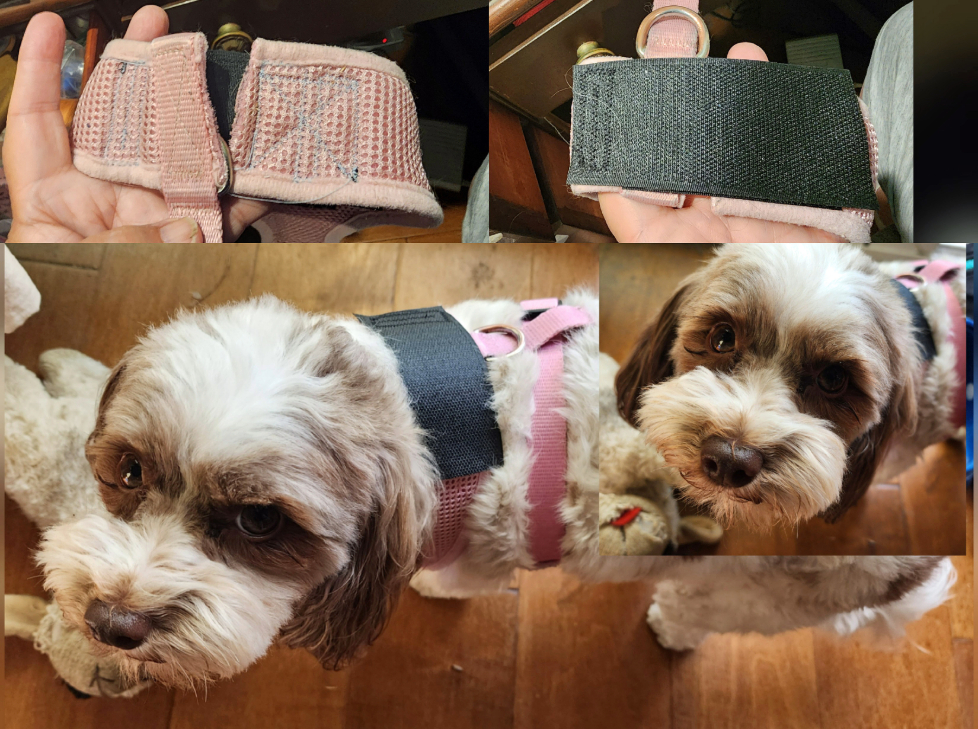
If you do have a sewing machine, all you’ll need, other than thread, is hook-and-loop tape or patches (Velcro) with these dimensions: the width of your harness at the neckline (2″ in my case), and 3–4″ length. If your dog is very sedate, you could probably use a shorter length. (Sweetie can be quite boisterous in pursuit of a good smell, so I used 4″.)
I started out by cutting a 4″×2″ strip of Velcro hooks. I stitched it, hooks down, to one side of the harness’s neckline, about 1½” from the welt attached to the rest of the harness. I used zigzag stitching to attach it in a rectangular spiral: Zigzag stitch down the far side; keeping the needle down, inside the stitch, turn the fabric 90̊ ; zigzag 3 stitches; keeping the needle down, turn the fabric another 90̊ and return in the opposite direction. Repeat this process a third time until you’re back on the side where you started, but several stitches away. For extra security, zigzag diagonally across the Velcro. That’s secure.

Check out how well the Velcro overlaps with the other side of the harness. (It might even stick to it a bit. You should still add Velcro loops, though.) Assuming that all is well, take the leap, and cut the harness on the opposite side of the welt, so that the Velcro hooks and the welt are on one side of the cut, and the other side of the harness is ready for the Velcro loops.

Next, I cut a 4″×2″ strip of Velcro loops. With the loops facing up, I tucked it over the welt, beneath the hooks and then measured back to see where it should attach to the harness. As I did with the hooks, I used zigzag stitch to secure the farthest end of the Velcro to the harness. Then I used a rectangular zigzagging pattern: stitch across the harness, with the needle down, turn 90̊ , stitch forward 2–3 stitches, turn 90̊ , and stitch back; continue in this way, until you reach the welt. Finish with a diagonal stitch across the area you stitched, then stitch to the other side, and stitch another diagonal to make an “X.” That’s it. Try it on your pup, and make any adjustments needed for comfort. With the broad overlap of Velcro straps, even a boisterous pup will be securely constrained.
Text and images by Shari Dorantes Hatch. Copyright © 2025. All rights reserved.


Leave a comment